Never upgrading again! Journal update 1/7
Posted: Sun Jan 01, 2012 8:35 pm
I set out this weekend on a mission to upgrade my crabs home. The goal a 75 gal spending as little $$ as possible.
Saturday morning my wanted craigslist ad went up and i went out shopping. I found a deal to good to pass up at petsmart, a 75 stand for $132.00. Most run about $200.00. I grabbed my card and my car and off I went with my new stand. When I got home later that afternoon I had an email from a lady with a 75g but no stand. We agreed on $60.00 and I picked it up today. Below is my progress towards my upgrade.
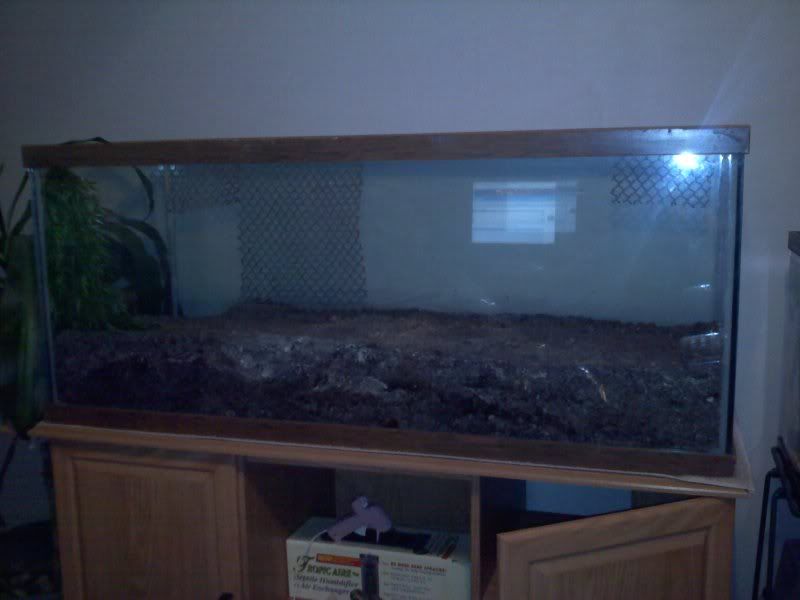
The tank.
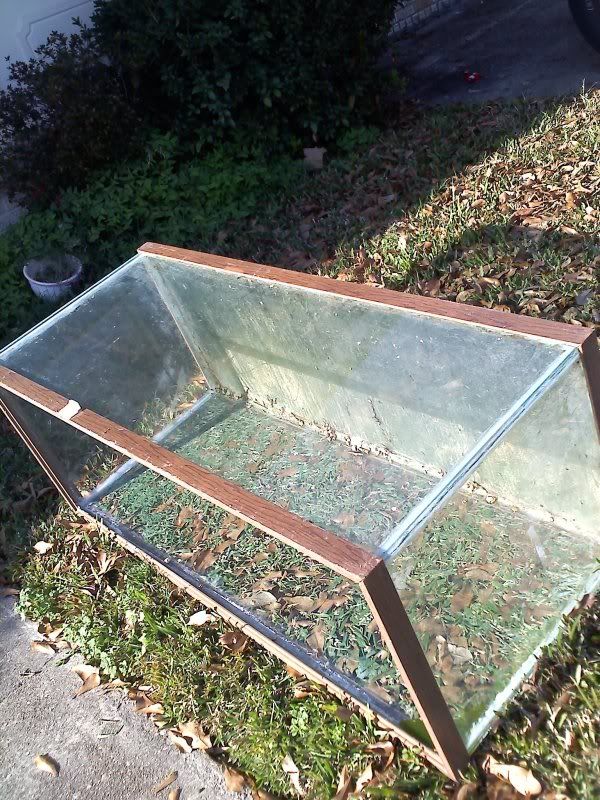
Like most used tanks its filthy. Covered in algae and silicone!! lots and lots of silicone. Its everywhere.
2 hours of scrubbing and cutting way some of the excess silicone my arms feel like they are about to fall off. there were silicone finger prints all over the thing.
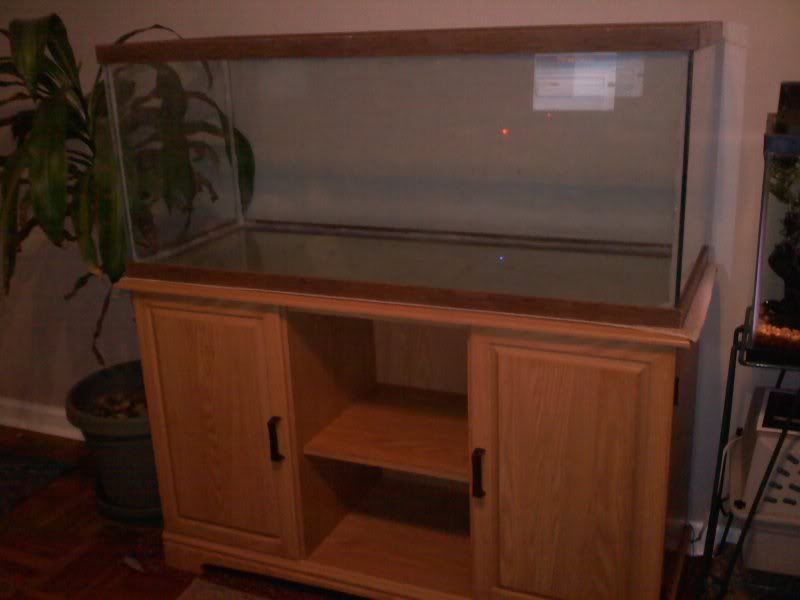
Looking better prettier on its new stand. thats a fish tank next to it. the crabs are going to have neighbors.
The silicone afterwards.
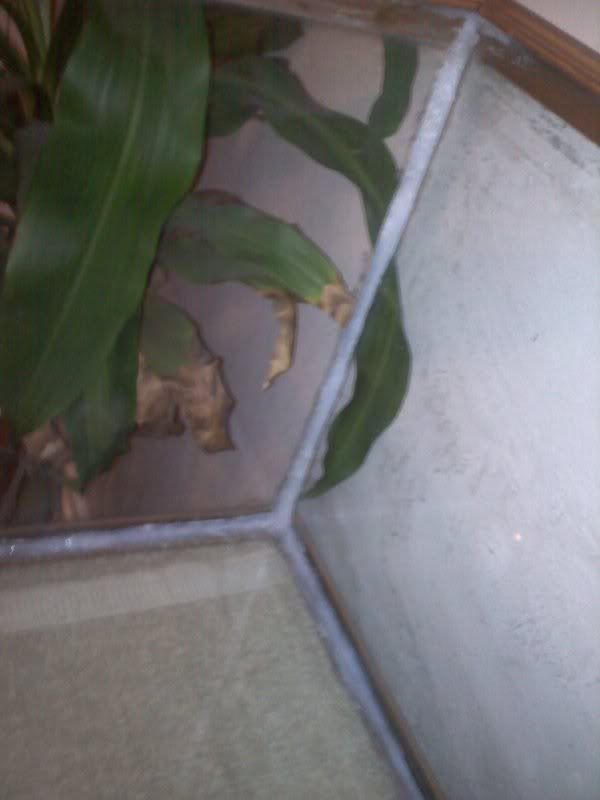
This tank must have had a serious leak at one point. I'm a bit worried about the silicone, there is soo much of it. Is this going to be safe for the crabs? if no please tell me asap before i fill this thing tomorrow.
Will post more as the days go by until the crabs are in.
Day 2
The substrate is in!! Used much less than I had planned. 9 bricks of EE and about 40lbs of sand. Its about 6 1/2 inches right now. It should settle some but hoping it stays about 6 inches. All my crabs are mediums and smalls so this should be more than enough substrate for a while.
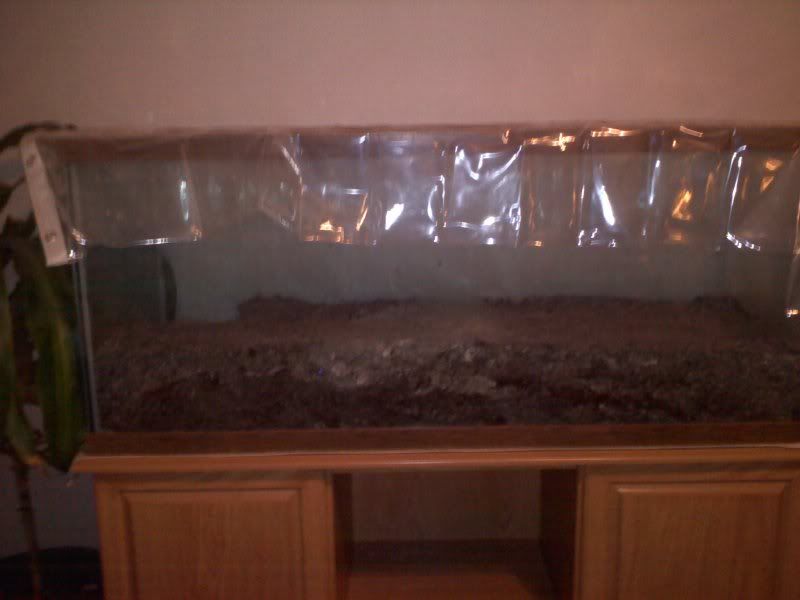
The indentation in the back corner is where the moss pit will be. I have this on my 20gal and it is one of the crabs favorite sleeping areas. A shower curtain is thrown over it to control the fresh EE smell. The shower curtain will later to be cut up to put over the screen lid.
The cork round and net are currently soaking in salt water. They must have made a mistake because my net is not covered in black muck.
Day 3
Half of the netting is up. I sorta over estimated how much was in each pack. So needless to say the 2nd pack is now soaking. Trying to do a little bit everyday. This evil work thing is really holding up progress.
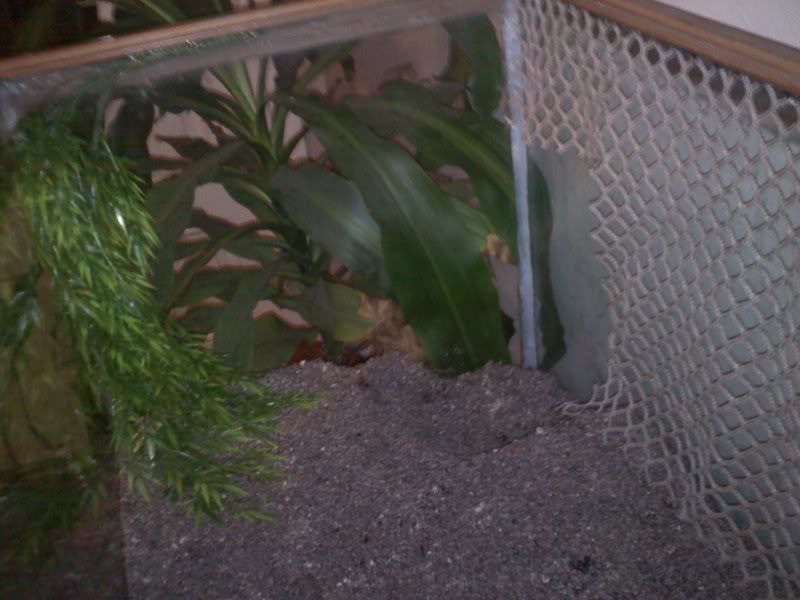
Also installed this plant which I fell in love with. sadly I had to trim off about half of it as it was so long. Both the plant and net is hot glued to the plastic rim of the tank. I haven't been impressed with how silicone has held things together in the past.
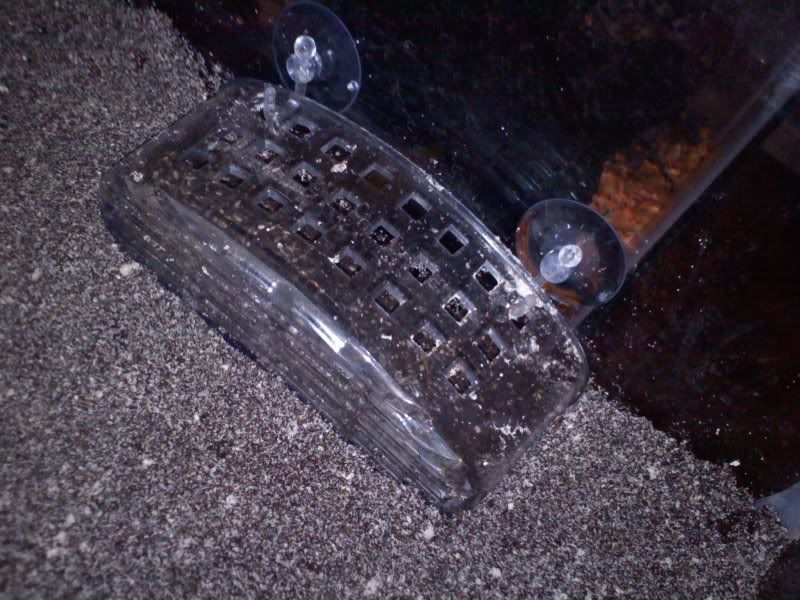
this is more of an experiment than anything else. its a small shower caddy flipped on its side, it is partially buried and fasten with suction cup hooks to the side of the tank. Inside is worm casting and chia seeds (thanks to fate4003). the idea is the chia will grow out the holes so it can be eaten but the caddy will protect it from being completely destroyed. i'm not really expecting it to work but i'm hopeful.
Tonight I have about 7 pieces of cholla to soak in saltwater and i have to wash the dog. Will post more pictures tomorrow.
Day 4
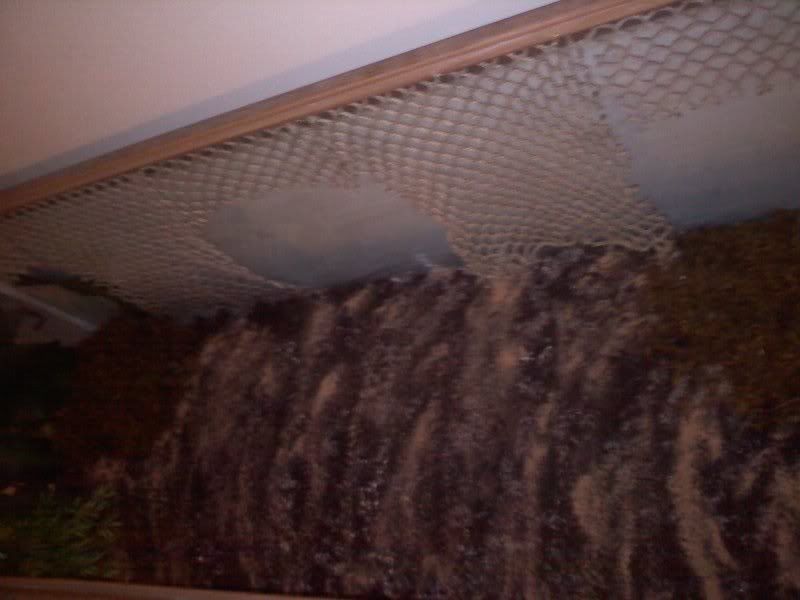
Finished the netting. added moss to the inground moss pit and the corner for the woodlice. Chia is growing in the garden area. also coated the substrate with worm casting and sprinkled HCP mineral supplement on top of that. I want their ground to be yummy as well as fun to walk on and dig in! Wood is still too wet to work with. come back tomorrow, woodlice will be added with pictures of the cute bugs of course!
Day 5 things could have gone better
My lamps are delayed, my lid does not fit. but moving forward regardless. Move in day for the woodlice.
finish product for today
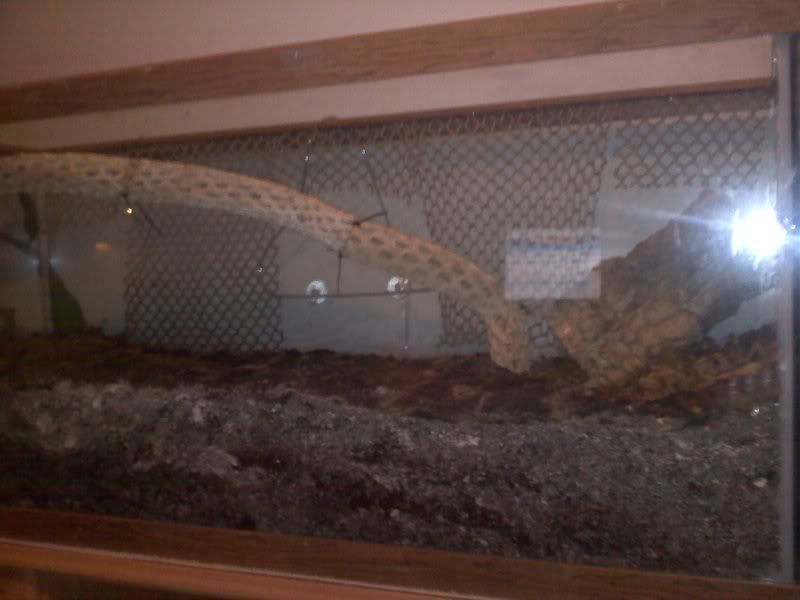
most of the work on the cholla bridge is done, I need to add one more piece that needs to be measured and cut. of course in the process i've pretty much ripped my pretty fake plant down, will need to be reglued. The tropicaire tubing at least is somewhat installed (middle of tank) but i dont have the air pump to actually test it yet. Leaf litter and cork has been added for the woodlice housing.
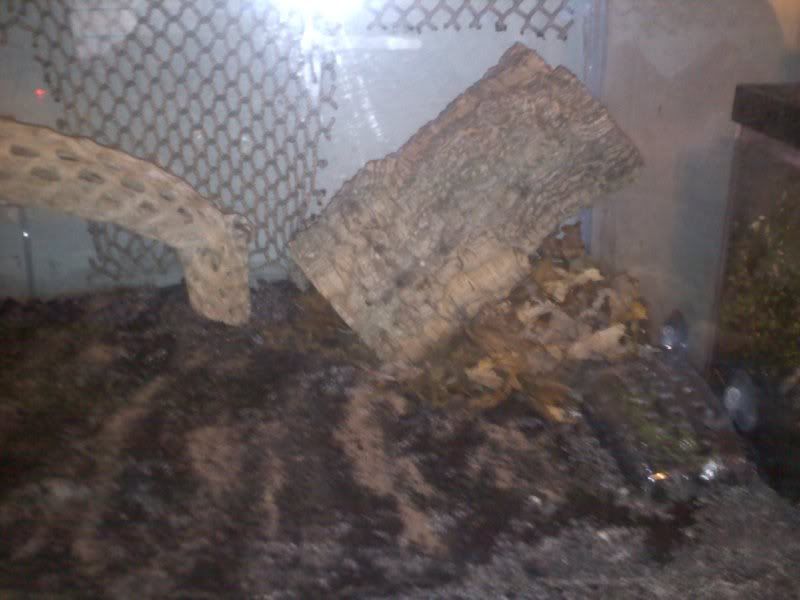
Woodlice housing/ woodlice snack bar (for the crabs)
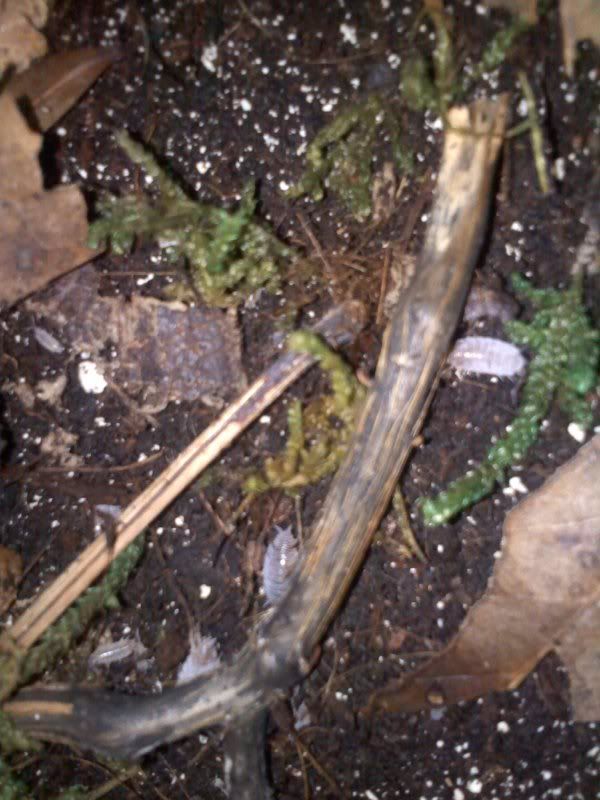
The woodlice! These are my first babies and the new babies in their old home.
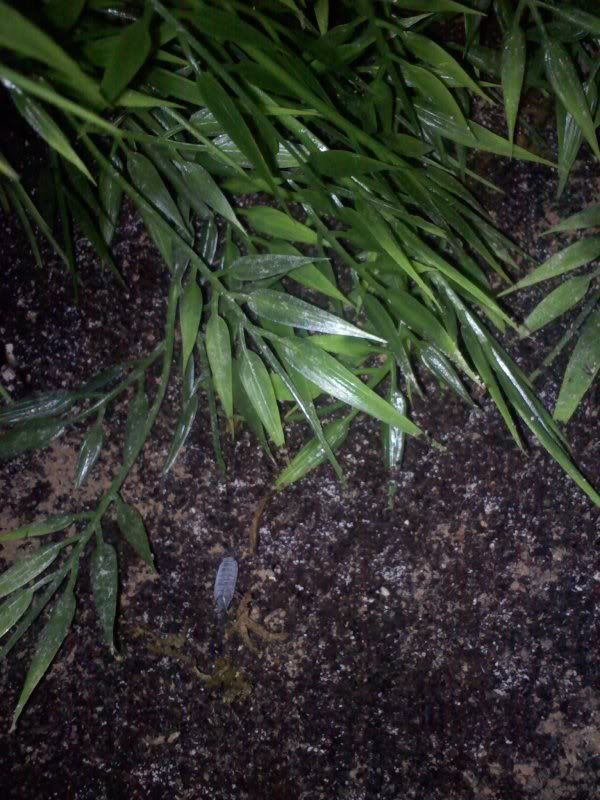
Run free my little sow bug! exploring the new digs. this guy, one of the original four, climbed up my arm so he got put asap into the tank but the rest i simply made a wood bridge out of their old home to the new one. i'll let them find their own way out instead of dumping or scooping them.
lastly
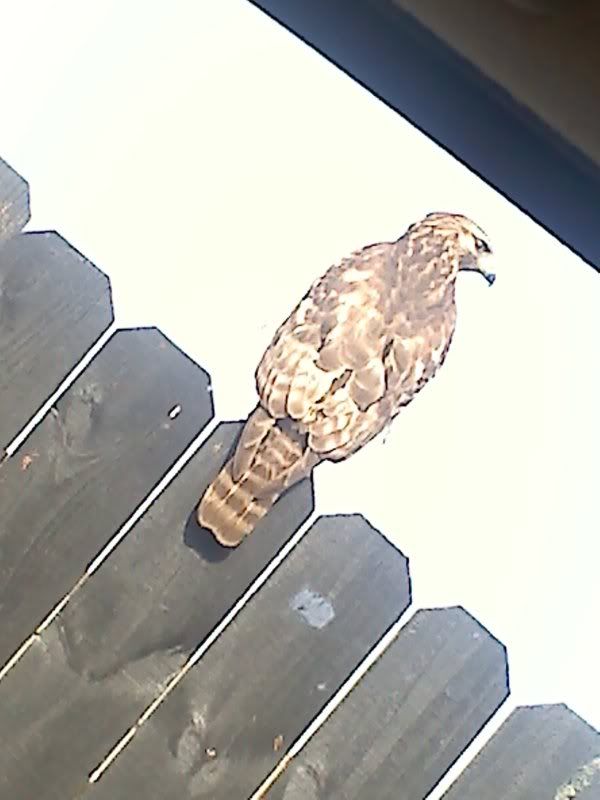
a hawk (i think?) he was chillin on a fence next to the drive through this morning when i was getting lunch.
Day 6
No pictures. all night spent working on building a screen lid for the tank. Frame is built after 4 hours but screen not working out so well.
Day 7
Been a long day and the crabs are in!!! Temp is a little low since I only have one dome light right now, parts of the tank are still hitting close to 80 so we should be good until Monday when my new light comes in.
progress on the lid. This is how the lid currently looks.
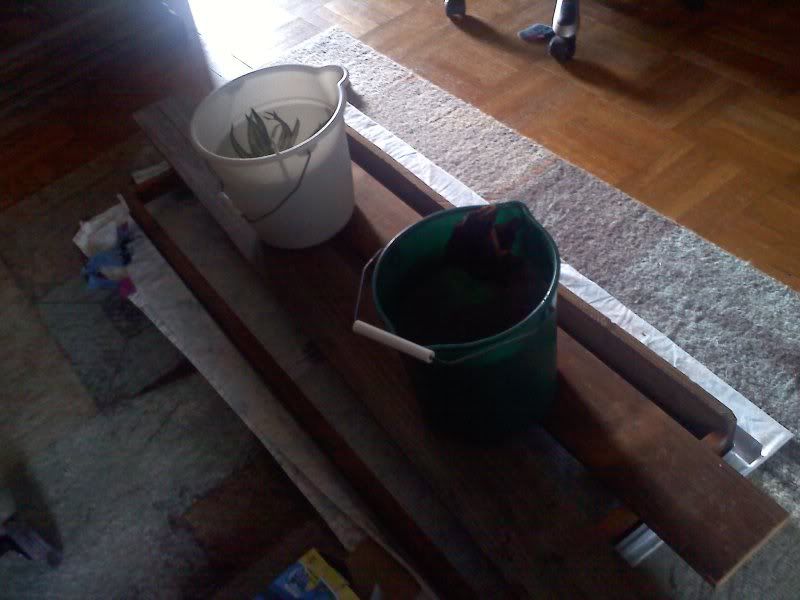
this is the lid without all the wood and buckets on it
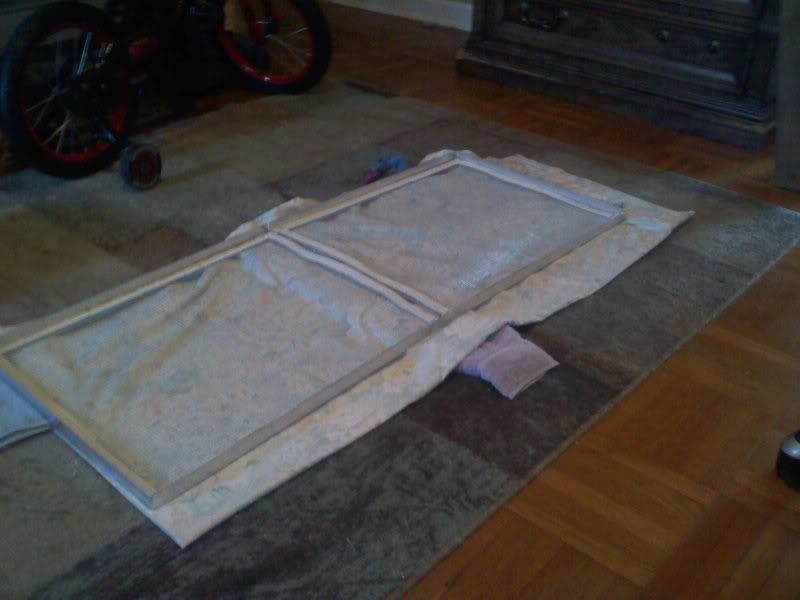
we are siliconing the screen to the metal and trying to apply pressure for 24 hours to ensure it sticks good. i have my doubts about this working but the frame is good. Its made out of aluminum so my magnets will not work. but i'll figure something out.
Day started with finishing the cholla bridge.
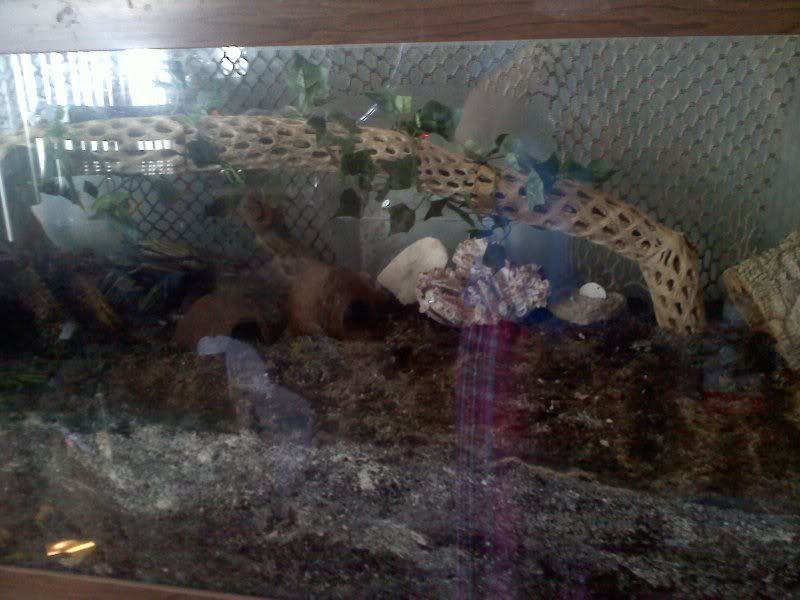
stealing the moss pits from the other tanks, hanging vines, and adding in all the other decor
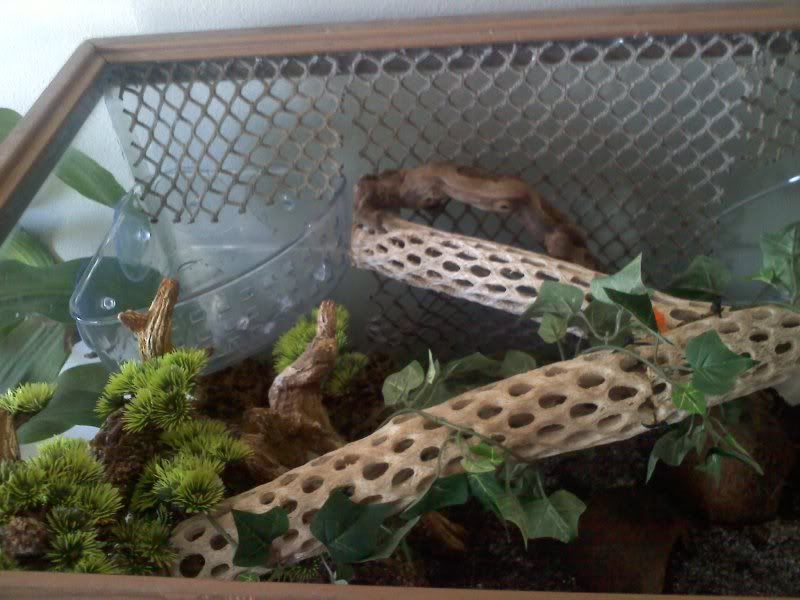
all which went surprisingly fast.
a few pictures of the finish product.
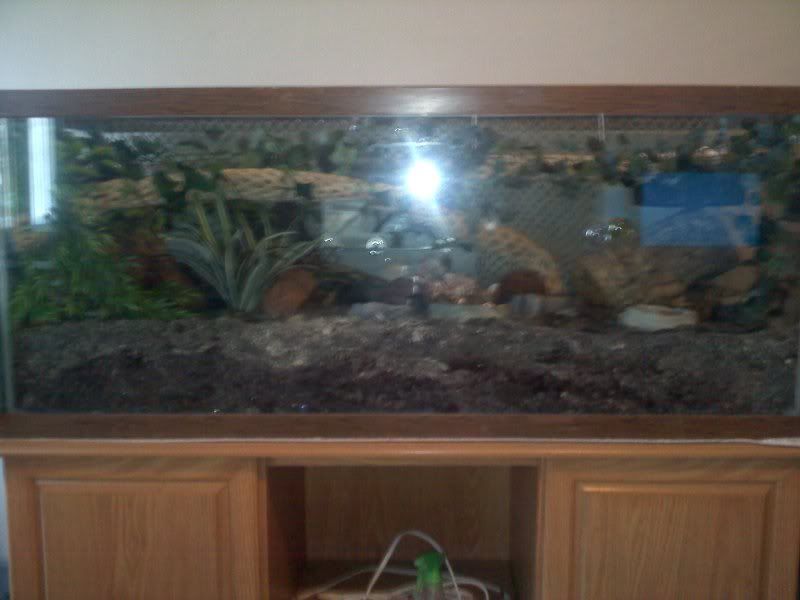
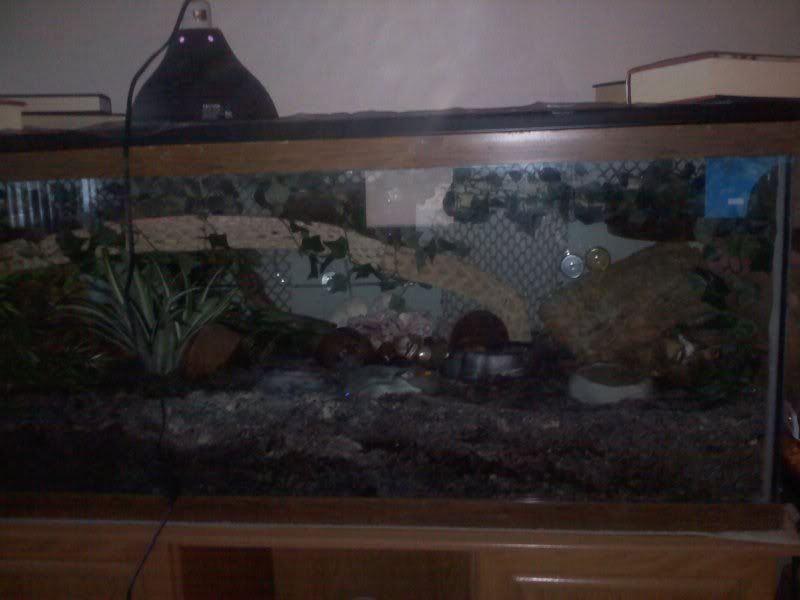
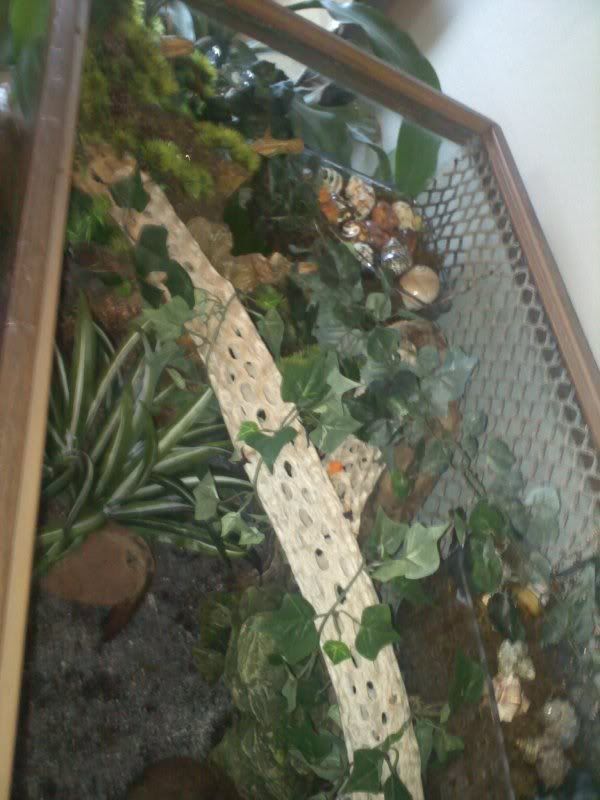
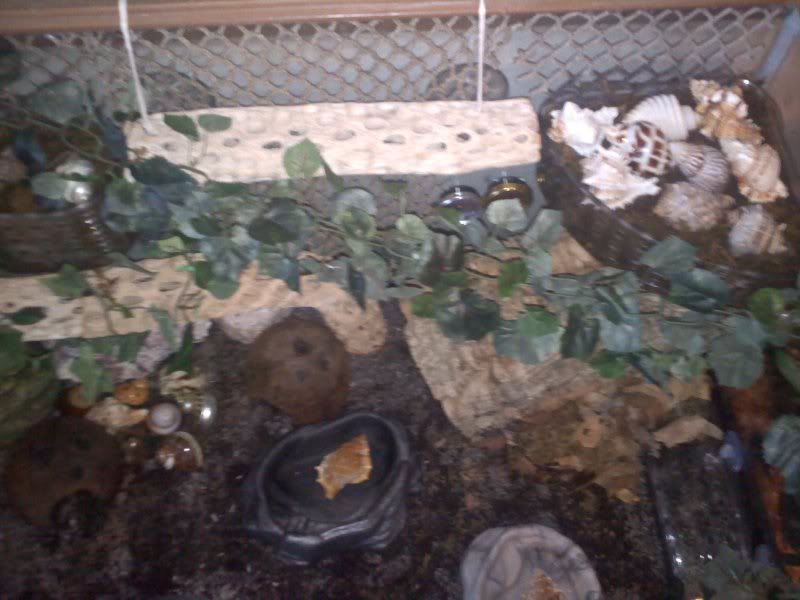
than the crabs were added in. 11 in total. 5 MIA (Purples, Devil, Ebert, Crabby, Hermie)
Blues checking out shells, notice the crabs in the cocohuts
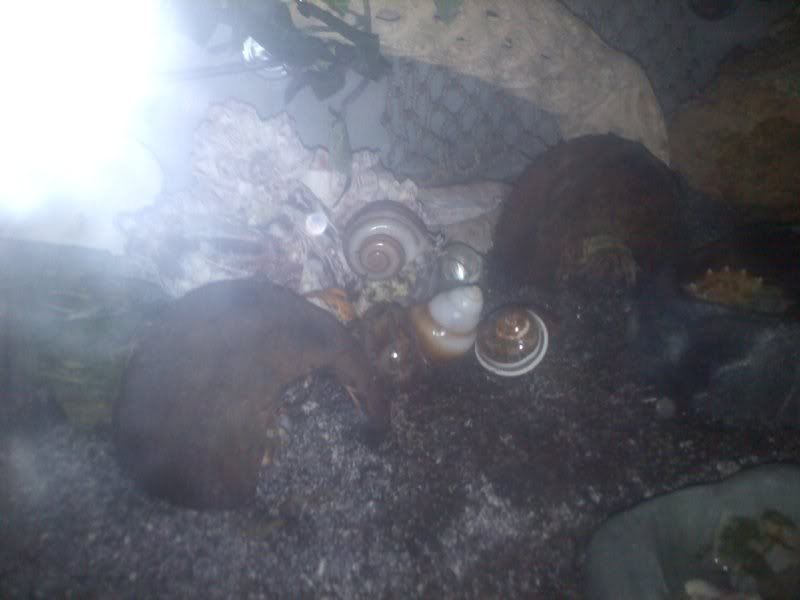
Violas in the cocohut. The crabs that hide together, stay together.
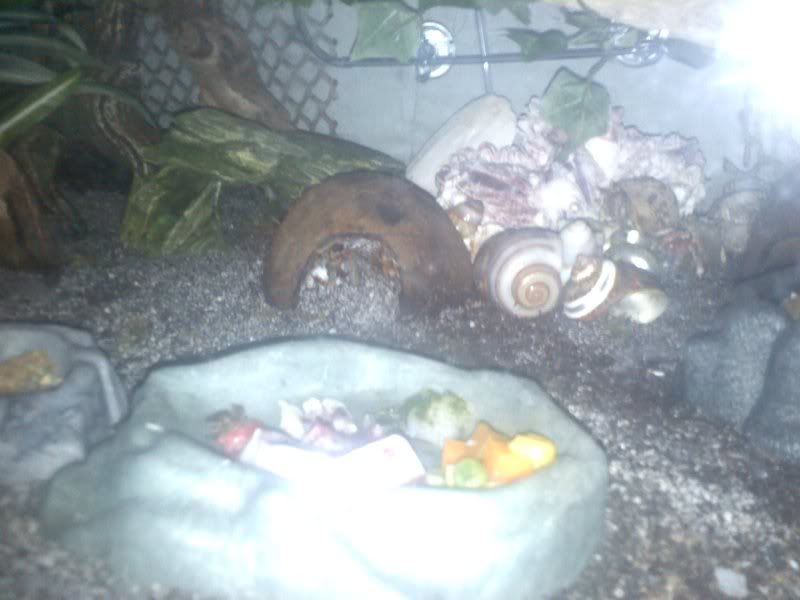
This is the most anybody ever see of Charcoal. His red legs.
Struder exploring
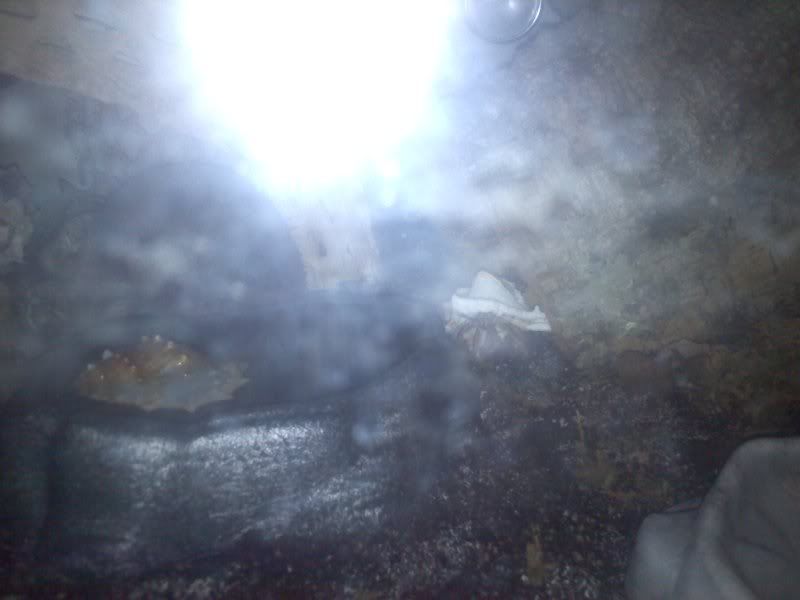
The pictures are horrible I know. To the right next to the cholla and cork is Bug, old ruggie who is missing his leg.
Center is the red ruggie Tug with a small E, E-wee climbing on his shell. There is a Charcoal's leg in the cocohut and another ruggie somewhere in the shells
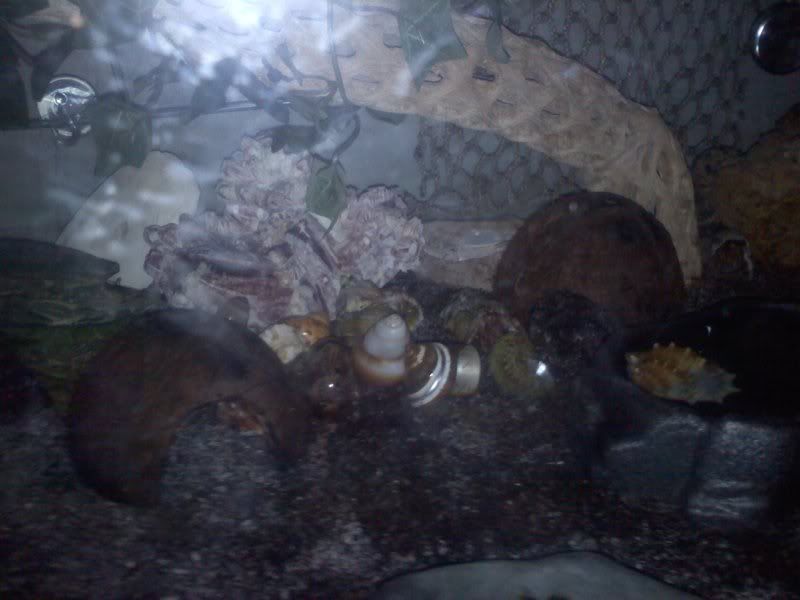
All for now, it got dark and my night light is not providing enough light to even see the crabs. Will post pictures of the lid once its complete.
Saturday morning my wanted craigslist ad went up and i went out shopping. I found a deal to good to pass up at petsmart, a 75 stand for $132.00. Most run about $200.00. I grabbed my card and my car and off I went with my new stand. When I got home later that afternoon I had an email from a lady with a 75g but no stand.
The tank.

Like most used tanks its filthy. Covered in algae and silicone!! lots and lots of silicone. Its everywhere.
2 hours of scrubbing and cutting way some of the excess silicone my arms feel like they are about to fall off. there were silicone finger prints all over the thing.

Looking better prettier on its new stand. thats a fish tank next to it. the crabs are going to have neighbors.
The silicone afterwards.

This tank must have had a serious leak at one point. I'm a bit worried about the silicone, there is soo much of it. Is this going to be safe for the crabs? if no please tell me asap before i fill this thing tomorrow.
Will post more as the days go by until the crabs are in.
Day 2
The substrate is in!! Used much less than I had planned. 9 bricks of EE and about 40lbs of sand. Its about 6 1/2 inches right now. It should settle some but hoping it stays about 6 inches. All my crabs are mediums and smalls so this should be more than enough substrate for a while.

The indentation in the back corner is where the moss pit will be. I have this on my 20gal and it is one of the crabs favorite sleeping areas. A shower curtain is thrown over it to control the fresh EE smell. The shower curtain will later to be cut up to put over the screen lid.
The cork round and net are currently soaking in salt water. They must have made a mistake because my net is not covered in black muck.
Day 3

Half of the netting is up. I sorta over estimated how much was in each pack. So needless to say the 2nd pack is now soaking. Trying to do a little bit everyday. This evil work thing is really holding up progress.

Also installed this plant which I fell in love with. sadly I had to trim off about half of it as it was so long. Both the plant and net is hot glued to the plastic rim of the tank. I haven't been impressed with how silicone has held things together in the past.

this is more of an experiment than anything else. its a small shower caddy flipped on its side, it is partially buried and fasten with suction cup hooks to the side of the tank. Inside is worm casting and chia seeds (thanks to fate4003). the idea is the chia will grow out the holes so it can be eaten but the caddy will protect it from being completely destroyed. i'm not really expecting it to work but i'm hopeful.
Tonight I have about 7 pieces of cholla to soak in saltwater and i have to wash the dog. Will post more pictures tomorrow.
Day 4

Finished the netting. added moss to the inground moss pit and the corner for the woodlice. Chia is growing in the garden area. also coated the substrate with worm casting and sprinkled HCP mineral supplement on top of that. I want their ground to be yummy as well as fun to walk on and dig in! Wood is still too wet to work with. come back tomorrow, woodlice will be added with pictures of the cute bugs of course!
Day 5 things could have gone better
My lamps are delayed, my lid does not fit. but moving forward regardless. Move in day for the woodlice.
finish product for today

most of the work on the cholla bridge is done, I need to add one more piece that needs to be measured and cut. of course in the process i've pretty much ripped my pretty fake plant down, will need to be reglued. The tropicaire tubing at least is somewhat installed (middle of tank) but i dont have the air pump to actually test it yet. Leaf litter and cork has been added for the woodlice housing.

Woodlice housing/ woodlice snack bar (for the crabs)

The woodlice! These are my first babies and the new babies in their old home.

Run free my little sow bug! exploring the new digs. this guy, one of the original four, climbed up my arm so he got put asap into the tank but the rest i simply made a wood bridge out of their old home to the new one. i'll let them find their own way out instead of dumping or scooping them.
lastly

a hawk (i think?) he was chillin on a fence next to the drive through this morning when i was getting lunch.
Day 6
No pictures. all night spent working on building a screen lid for the tank. Frame is built after 4 hours but screen not working out so well.
Day 7
Been a long day and the crabs are in!!! Temp is a little low since I only have one dome light right now, parts of the tank are still hitting close to 80 so we should be good until Monday when my new light comes in.
progress on the lid. This is how the lid currently looks.

this is the lid without all the wood and buckets on it

we are siliconing the screen to the metal and trying to apply pressure for 24 hours to ensure it sticks good. i have my doubts about this working but the frame is good. Its made out of aluminum so my magnets will not work.
Day started with finishing the cholla bridge.

stealing the moss pits from the other tanks, hanging vines, and adding in all the other decor

all which went surprisingly fast.
a few pictures of the finish product.


than the crabs were added in. 11 in total. 5 MIA (Purples, Devil, Ebert, Crabby, Hermie)
Blues checking out shells, notice the crabs in the cocohuts

Violas in the cocohut. The crabs that hide together, stay together.

This is the most anybody ever see of Charcoal. His red legs.

Struder exploring

The pictures are horrible I know. To the right next to the cholla and cork is Bug, old ruggie who is missing his leg.
Center is the red ruggie Tug with a small E, E-wee climbing on his shell. There is a Charcoal's leg in the cocohut and another ruggie somewhere in the shells

All for now, it got dark and my night light is not providing enough light to even see the crabs. Will post pictures of the lid once its complete.